Remote Server Configuration
Configure IT allows you to add multiple Remote server details (FTP Server details & MySQL details) and allows you to make one specific remote server details as default remote server details.
Remote Server List
See below screen of project management where you will find “Remote Server List”.
Just click on “Remote Server List” and it will redirect you to “Remote Server Management” section where you can add / delete specific server details.

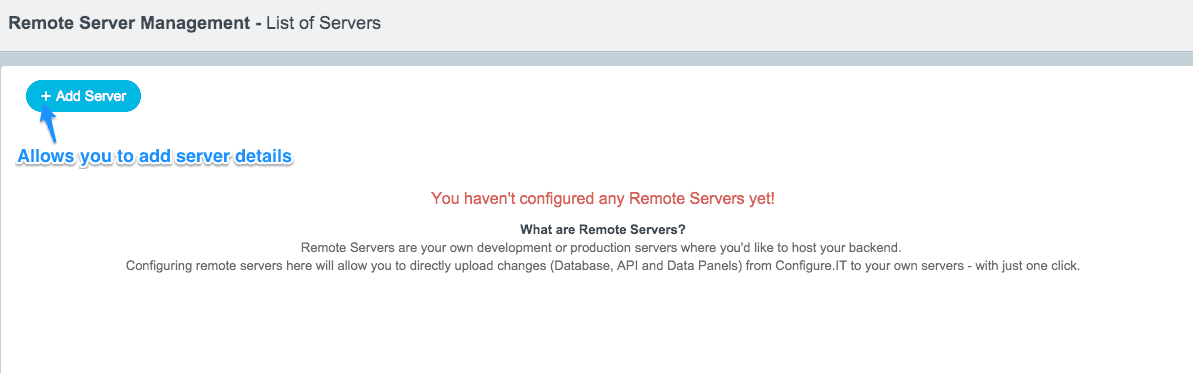
See below screen of Remote Server Management (Remote Server List)
Add Remote Server
See below screen of “Add Server”
Just define your server name with FTP details and MySQL details.

| FTP details | MySQL Details |
|---|---|
FTP Host Address → set host address FTP User Name → set ftp username FTP Password → set ftp password FTP Folder → set root folder path FTP Port Number → set port number |
DB Server Address → set database server details DB User Name → set database username DB Password → set database password Database Name → set database name Database Port Number → set database port number |
After adding server details , it will show you 2 buttons “Upload All” and “Upload Specific”. You can also modify existing server details.

- Upload All
- It will upload all code to specific remote server.
- For FTP, it will upload all code.
- For MySQL , it will upload all tables. (Note : database must be created at server)
- Upload Specific
- It will allows you to select specific section to upload to specific remote server.
- For FTP, it will allow you to choose specific folder or files for upload.
- For MySQL ,it will allow you to choose specific tables for upload. (Note : database must be created at server).
If you make specific server as default then whenever you update any API section or module section and click on upload , it will directly upload on default remote server. So there is no need to download it and upload it.
See below screen after adding server details

“Upload On FTP” feature is also available at “Web Service List , Admin management , Notification List” section. It will be uploaded on default server directly. So you have to mark specific server as default server
Note : If you have marked remote server as “Default” then only you will see upload option in above section. Otherwise you will get “N/A”.
Upload feature in Web Service Section

It allows you to upload specific web service to default server directly. Also allows you to upload selected web service to FTP by clicking on “Upload On FTP” button.
Upload feature in Admin Management Section

It allows you to upload specific module to default server directly. Also allows you to upload selected modules to FTP by clicking on “Upload On FTP” button.
Upload feature in Notification List Section

It allows you to upload specific notification to default server directly. Also allows you to upload selected notifications to FTP by clicking on “Upload On FTP” button.
Configure Project with Installation Wizard
Configure IT provides easy to download and easy to setup feature with installation wizard.
Download Code
Just download code from project management section.

After downloading code zip file , just extract folder and execute it on your server / local system. It will show you installation wizard where you can see whole installation process for project setup.
Installation Process
Step - 1 → System Requirements
It will show you basic system requirements to setup it in server / local system

Step - 2 → Checking Server Configuration
It will check system requirements with your server / local system.

Step - 3 → Database Information
It checks database details. If it is blank then it will show you validation.

Just provide database details
Note : database must exist in provided server otherwise it will not allow to move further.

Step - 4 → Installation Success
This is the last process where you will see successful message of installation process. It provides you admin URL with username and password. That’s it !
